A favicon is called the Site Icon in WordPress. It shows in browser tabs and bookmarks. Set it in the Customizer, on the Settings screen or in the Site Editor.
The menus you see depend on your theme. A classic theme shows Customize in Appearance, plus Menus and Widgets when it supports them. A block theme shows Editor in place of Customize, unless the theme or a plugin adds Customizer settings. It shows Menus or Widgets only when it supports them. Polestar, Ultra and the Puro theme are classic themes.
Use a square image at least 512 x 512 px.
Classic Admin Screens
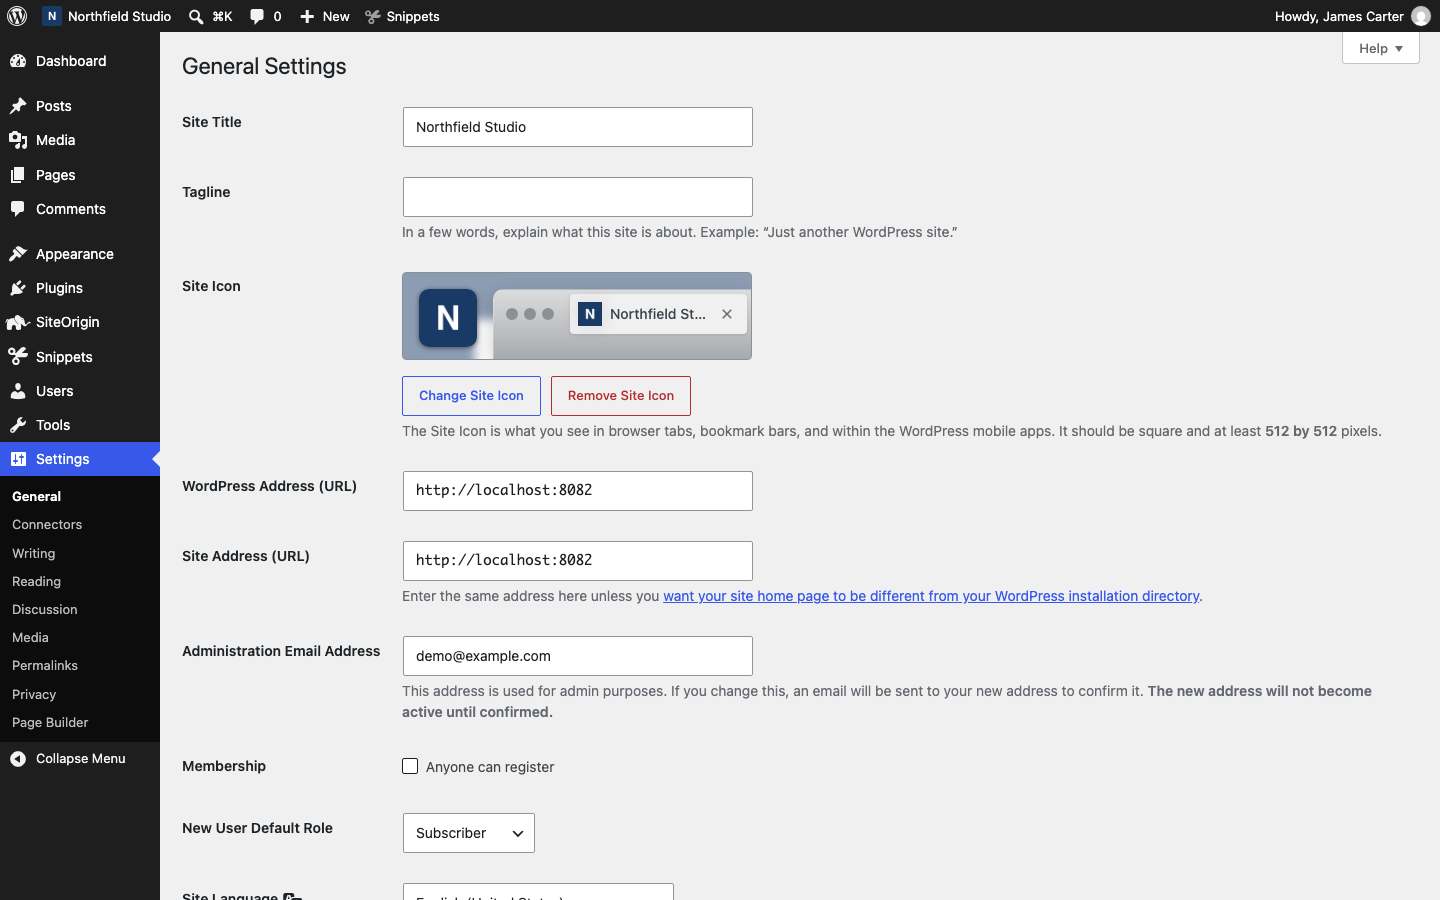
- Go to SettingsGeneral.
- Next to Site Icon, click Choose a Site Icon.
- Pick an image in the Media Library, or use the Upload Files tab.
- Crop the image if WordPress asks, then click Set as Site Icon.
- Click Save Changes.
Customizer
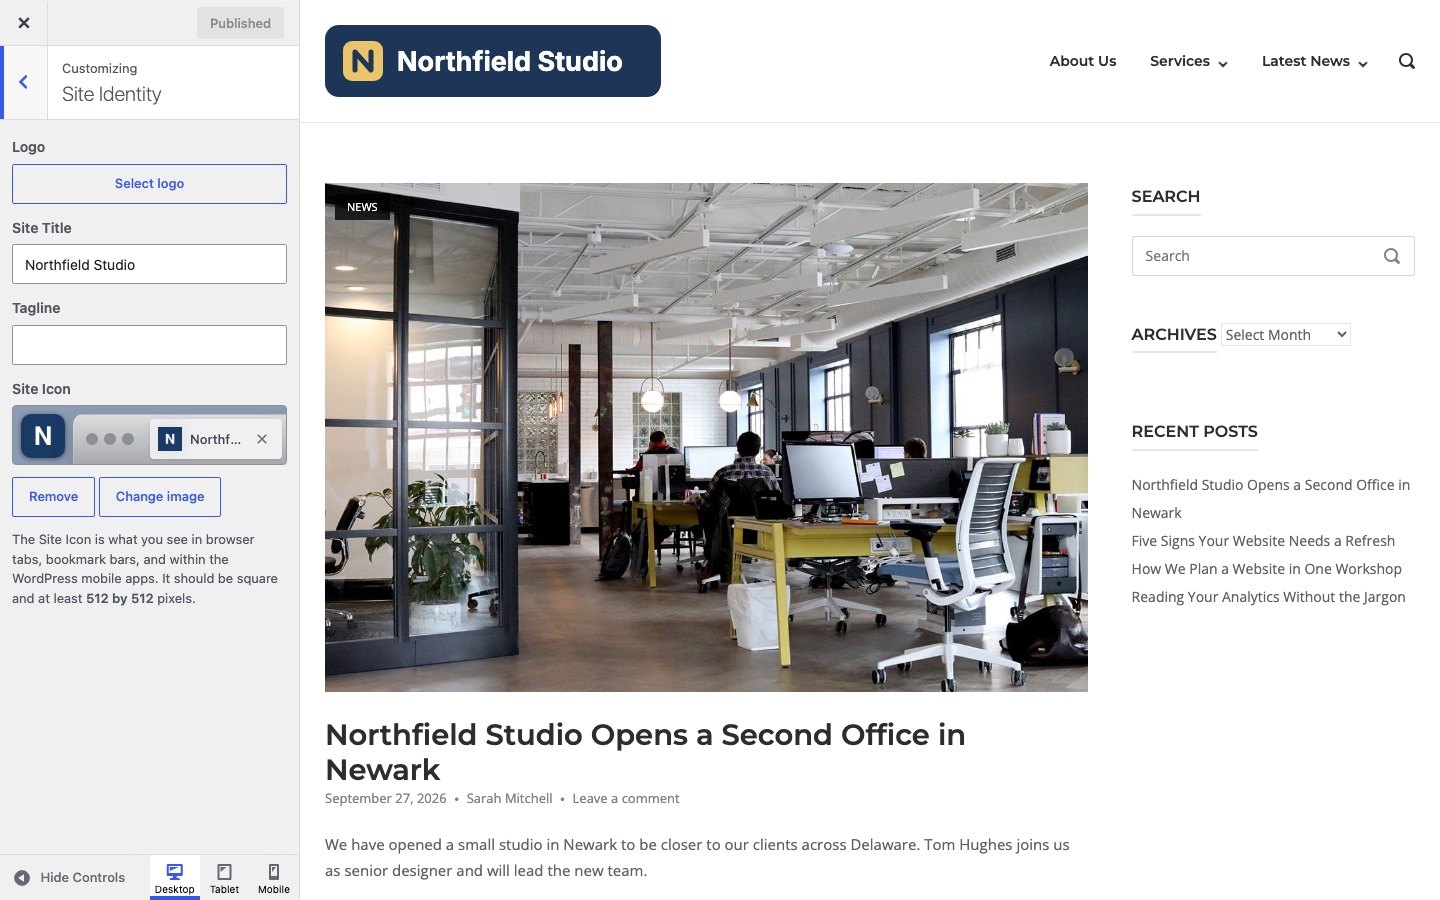
- Go to AppearanceCustomizeSite Identity.
- Under Site Icon, click Select Site Icon.
- Pick or upload an image and crop it if asked.
- Click Publish.
Block Themes
The Settings screen above works in a block theme. You can also set the icon in the Site Editor.
- Go to AppearanceEditor and open a template or template part that shows the site logo, such as the header.
- Select the Site Logo block. Add one from the block inserter if the template has none.
- Choose your image in the block, then turn on Use as Site Icon in the block settings.
- Click Save.
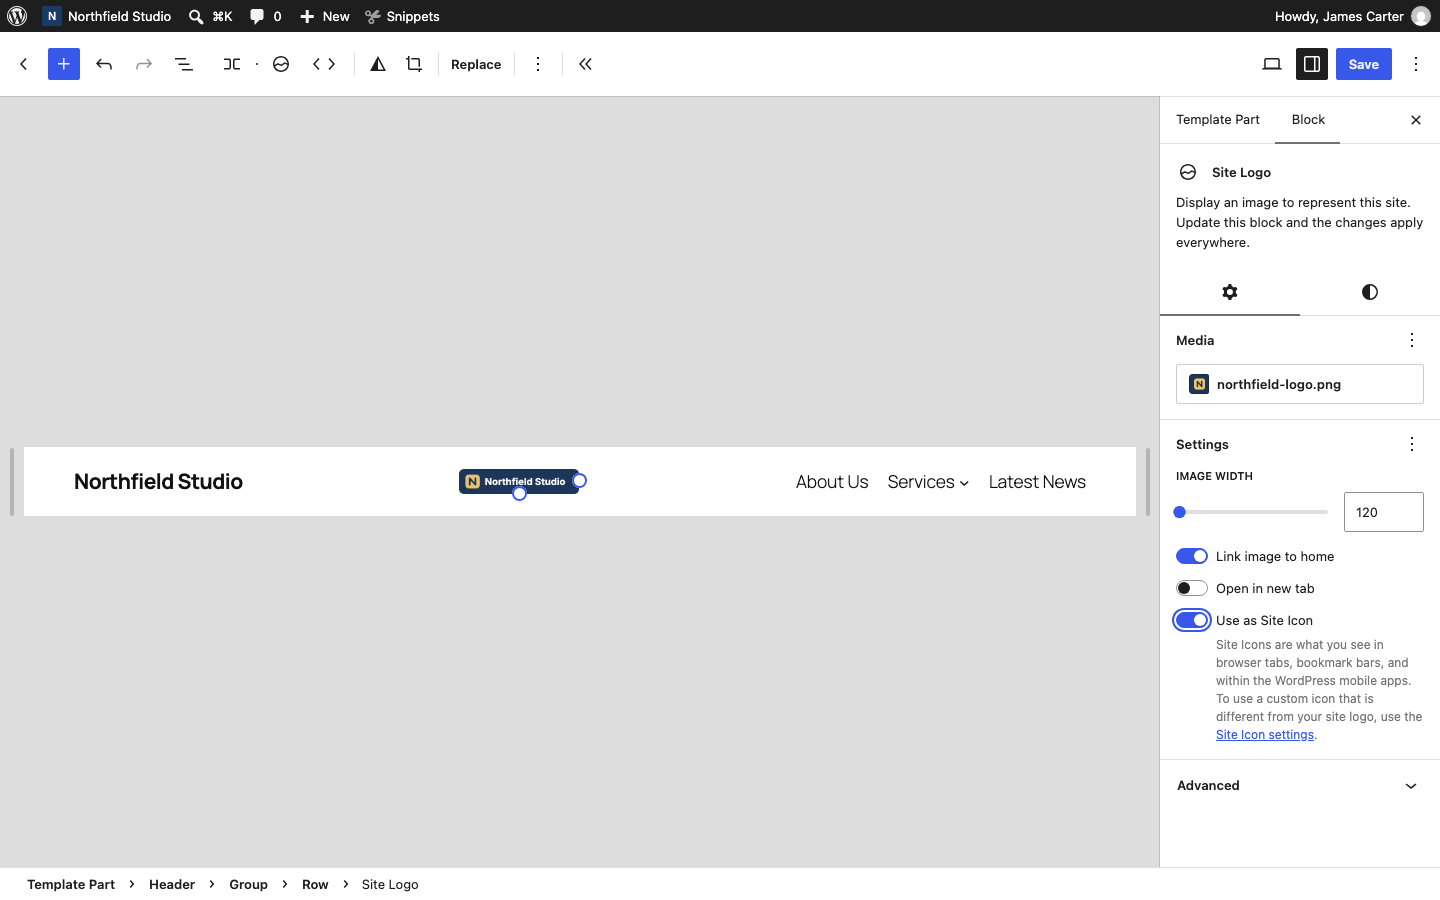
The Site Icon is a separate site setting, even when you set it from the logo block. Browsers keep old icons in their cache, so open the site in a private window to check the new one.