To display your posts on a blog page, go to SettingsReading and select a Posts page: from the drop-down list. Once a page has been assigned as the Blog page it will display posts, no other content on the page will be displayed. If you’d like to display content around your blog posts or would like to create several blog pages, make use of the SiteOrigin Post Loop widget, bundled with SiteOrigin Page Builder.
Inserting and Using the Post Loop Widget
With Page Builder by SiteOrigin activated, go to the page in question and click on the Page Builder tab next to the Visual and Text tabs. If you’re using the Block Editor, you can insert a SiteOrigin Layout Block instead of clicking on the Page Builder tab.
Click the Add Widget button and then use the search field at the top left of the modal window to search for Post Loop. Click the Post Loop widget title to insert it.
Once the Post Loop widget has been inserted into your page, hover over it and click the Edit link. Use the Template drop-down menu to select one of the available templates. All Puro themes have templates ready for the Page Builder Post Loop widget to make use of.
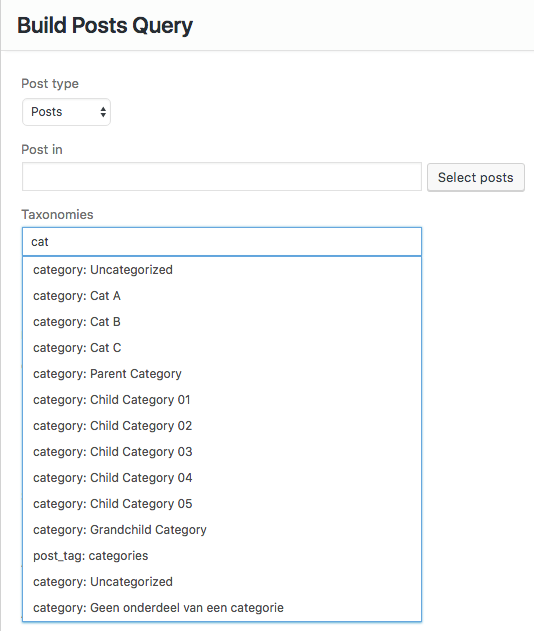
If you’d like to customize the posts displayed in your post loop, click the Build Posts Query button. Next, you’ll be presented with a number of display options, the most important of which is the Taxonomies field. Basically, a taxonomy is a way to group things together. The Taxonomy field can be used to display posts from a particular category or tag. To use the field, start typing the name of the category or tag, and the field will suggest options to select.