SwiftGrid Pro saves column arrangements as layouts, so a repeat job opens with the right columns: a pricing layout for price changes, a stock-take layout for counts. Pro also adds your own product fields, including Advanced Custom Fields (ACF) fields, to the grid as columns you can edit.
Switch Layouts
Click Layout above the grid. The list has four Column presets and your Saved layouts:
- All columns: every column. This is the base layout.
- Pricing, Inventory and Shipping: the columns for each job.
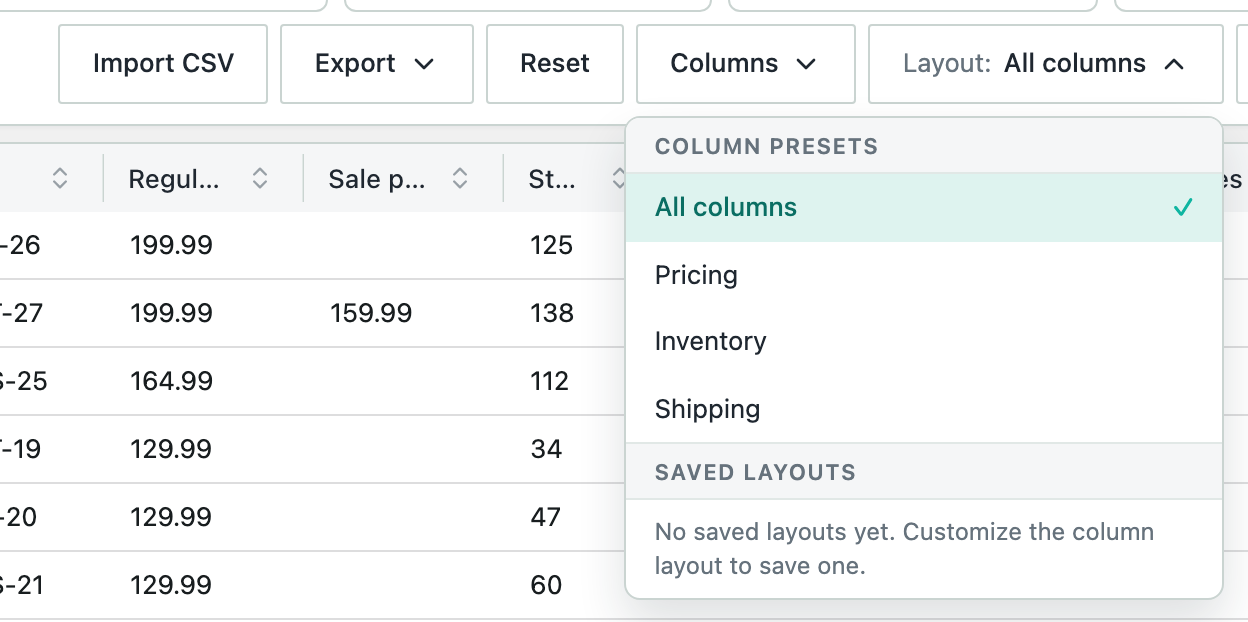
Click a layout to apply it.
Save a Layout
- Arrange the columns: show, hide, move and resize them. See Showing, Hiding and Arranging Columns.
- Click Layout. The top of the list says the current layout is edited and not saved.
- Click Save as new layout.
- Enter a Layout name, then click Save.
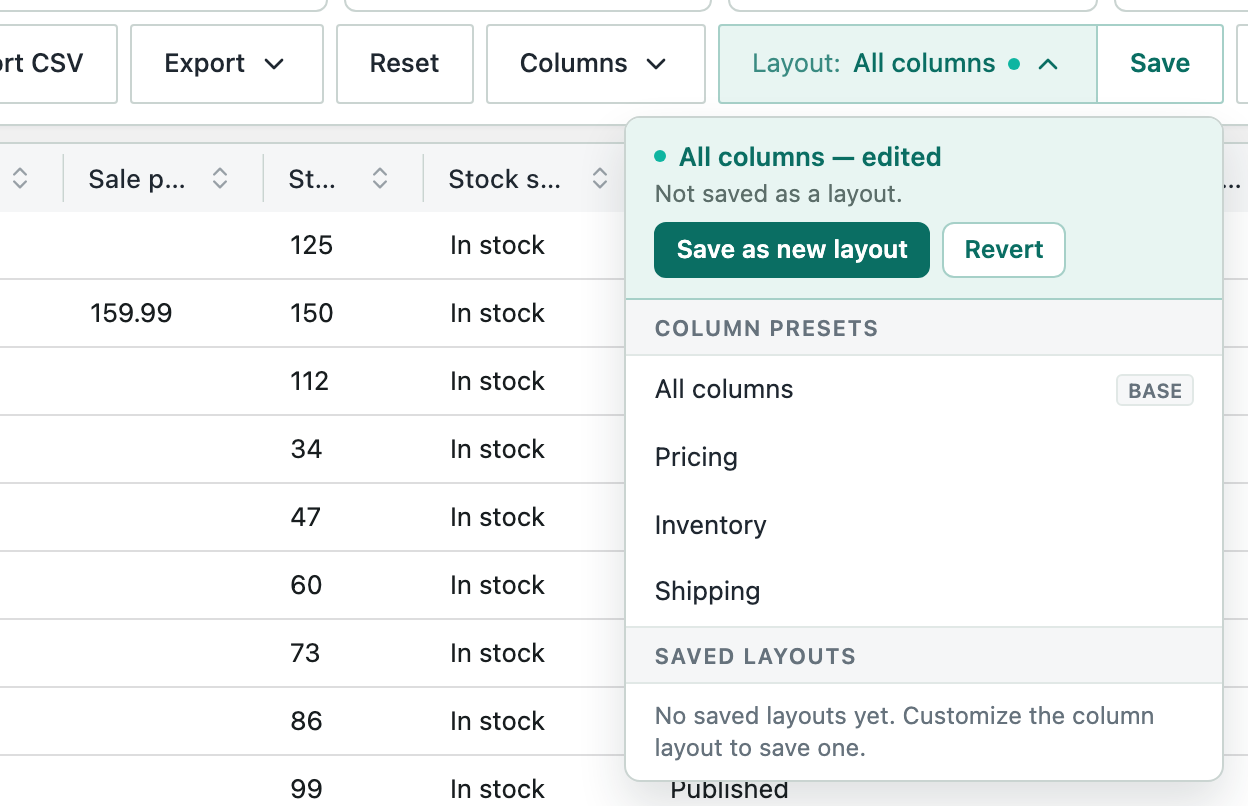
When you change a saved layout, click Save next to Layout to update it, or Revert to go back to it. A reload discards changes you haven’t saved as a layout. From the Actions in the list you can rename or delete a saved layout. Each user has their own layouts, up to 20.
Add Custom Field Columns
- Click Columns above the grid.
- Under Custom fields, click Add custom field columns.
- Select the fields you want as columns. ACF fields lists fields defined in ACF; Post meta lists other product fields, most used first.
- Click Save.
The fields join the Columns list, where you show or hide them like any other column. Each layout keeps its own choice. You can add up to 50 fields. Each field you add is read for every product on every page load, so add only the fields you edit.
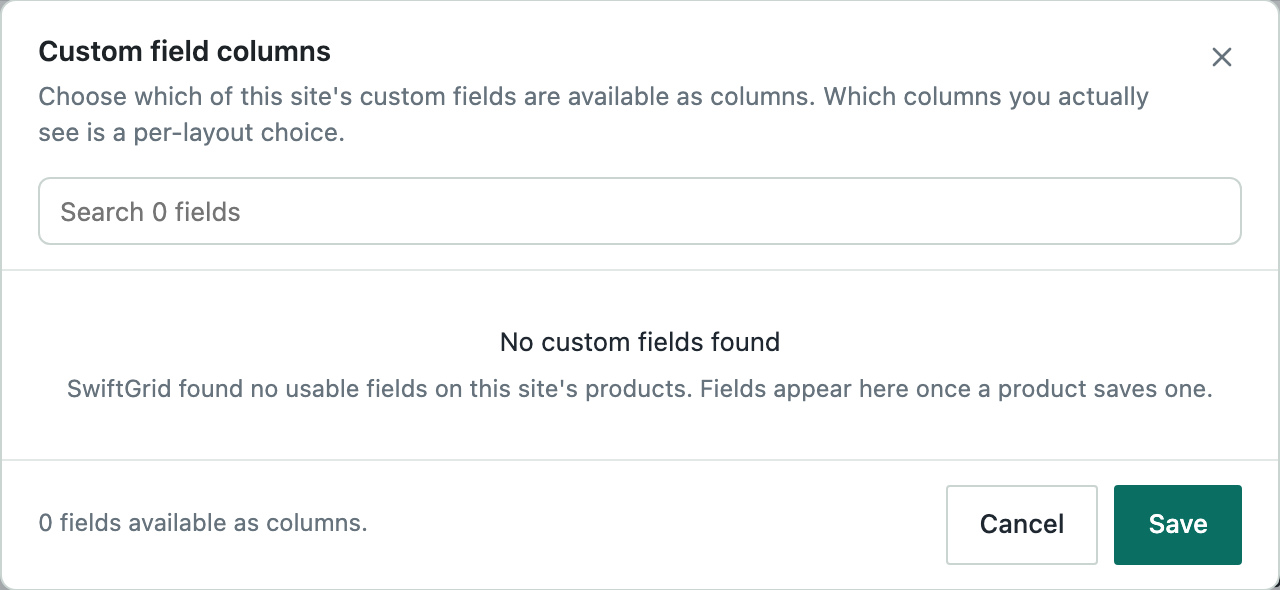
SwiftGrid lists a field once a product has saved a value for it. Custom field columns go into CSV exports and come back in with an import.