SwiftGrid Pro is AI that works inside your product grid: describe a bulk edit, review it, apply it, and roll any change back later. It has everything in the free version, plus Edit with AI, change history and rollback, scheduled edits, approvals for AI and agent edits, saved column layouts, custom field columns, variation generation and Excel export.
Installing Pro replaces the free plugin. Your products, settings and column layouts stay as they are.
Install the Plugin
- Download the SwiftGrid Pro ZIP file from the link in your purchase email. The link works for 7 days. After that, go to purothemes.com/licenses, click Email me a login link, and download the file from your licenses page.
- In the admin menu, go to PluginsAdd Plugin, then click Upload Plugin.
- Choose the ZIP file and click Install Now.
- If SwiftGrid is already installed, WordPress asks whether to replace it. Click Replace current with uploaded.
- Click Activate Plugin if WordPress shows it.
The SwiftGrid menu now has three items: SwiftGrid (the grid), License and Access. The grid’s toolbar gains Layout and Edit with AI.

Activate Your License
Your license key turns on updates from Puro.
- Go to SwiftGridLicense.
- Paste your key into License key.
- Click Activate.
The page then shows the license Status and the Activated domain. Your license counts one site for each domain you activate it on, up to your plan’s limit of 1 site, 3 sites or unlimited sites.
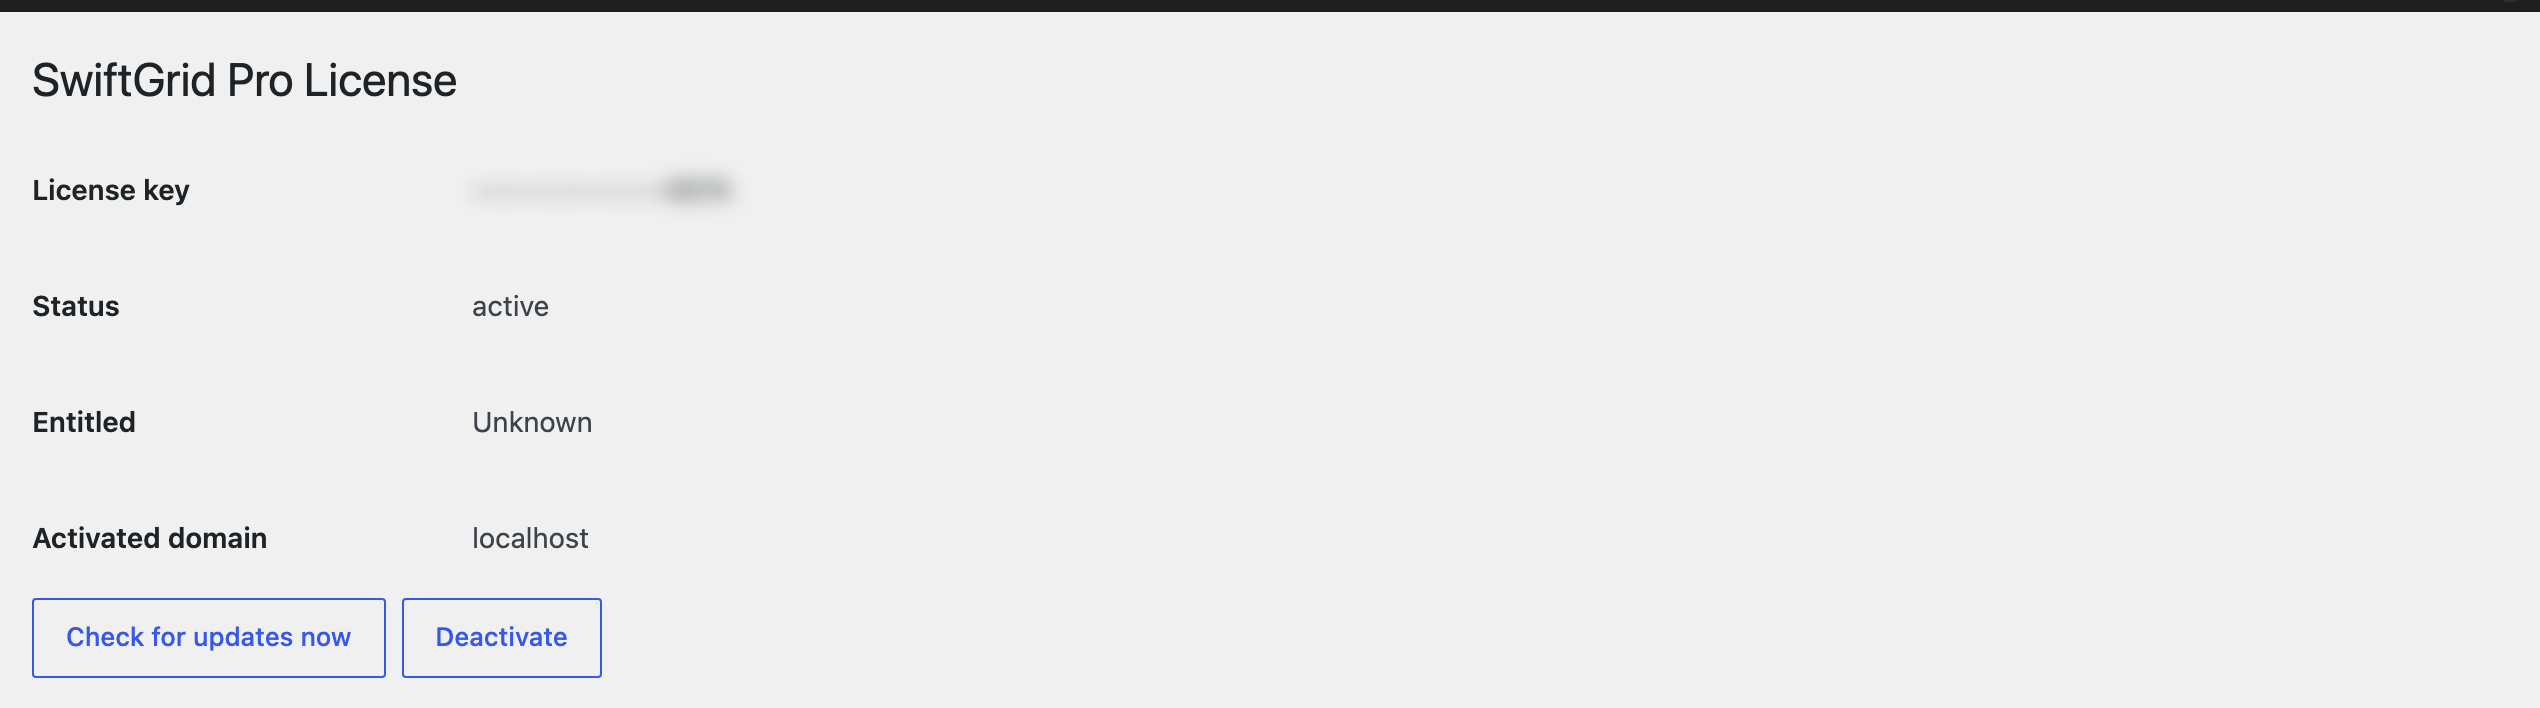
Check for updates now asks Puro for a new version at once. WordPress also checks on its normal schedule. To move the license to another site, click Deactivate on this site first, then activate it on the new one.
SwiftGrid Pro contacts Puro’s license service only after you enter a key. It sends the key, your site address, the product name and the plugin version.