Edit with AI runs on your own account with an AI provider. You connect it once, with an API key from your provider. SwiftGrid checks the key, stores it encrypted on your site and never shows it again.
Before You Start
Get an API key from one of these providers:
- OpenAI: keys start with
sk-. - Claude (Anthropic): keys start with
sk-ant-. - Gemini (Google)
- Groq (GroqCloud)
- OpenRouter
- Grok (xAI)
Each request uses your provider account, and your provider bills you for it. With Groq and OpenRouter, SwiftGrid picks the model, so check what that model costs before you connect.
Connect Your Provider
- Go to SwiftGrid and click Edit with AI above the grid.
- Choose your provider.
- Paste your API key into the key field.
- Click Connect.
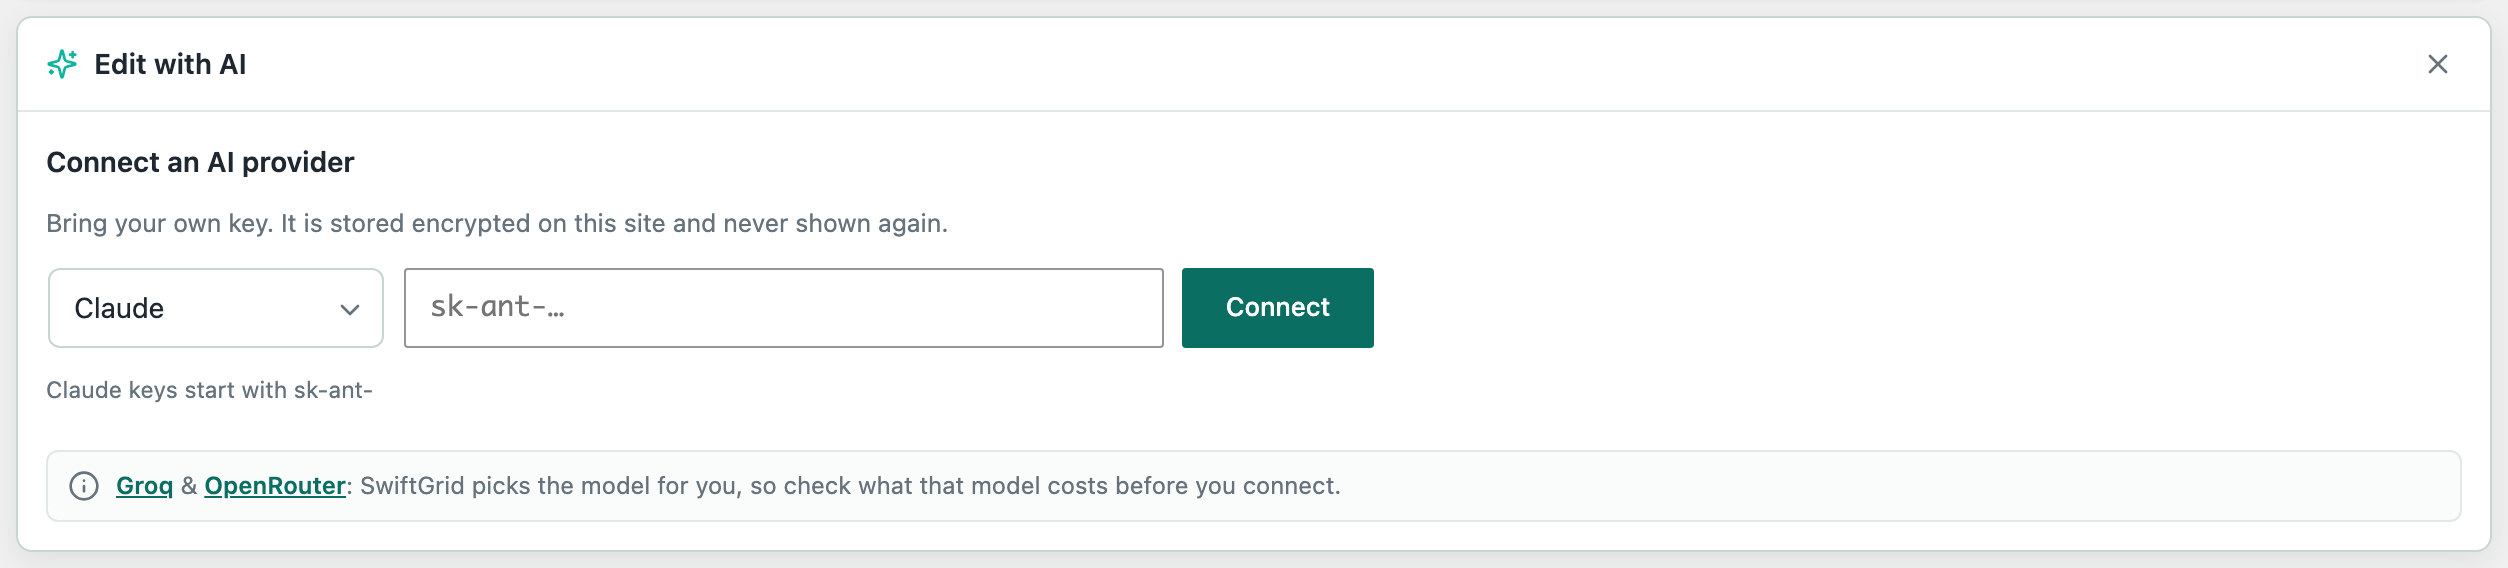
SwiftGrid sends the key to your provider once, to check that it works, then saves it. The panel shows “Claude connected.” (or your provider’s name) and the field for your first request. The line at the bottom of the panel names your provider.
If the provider rejects the key, SwiftGrid saves nothing. Check the key and the provider you chose, then try again.
Change or Remove the Key
Click Manage provider at the bottom of the panel.
- Replace key saves a new key for the same provider.
- Switch provider connects a different provider.
- Disconnect deletes the key from your site.

What SwiftGrid Sends
When you preview a request, SwiftGrid sends your provider the API key, the request you typed, the model name, and a short summary of its scope: the number of matching products, your filters and up to 40 characters of your grid search. It never sends your product rows or values, your WordPress username or email address, or any customer or order data.