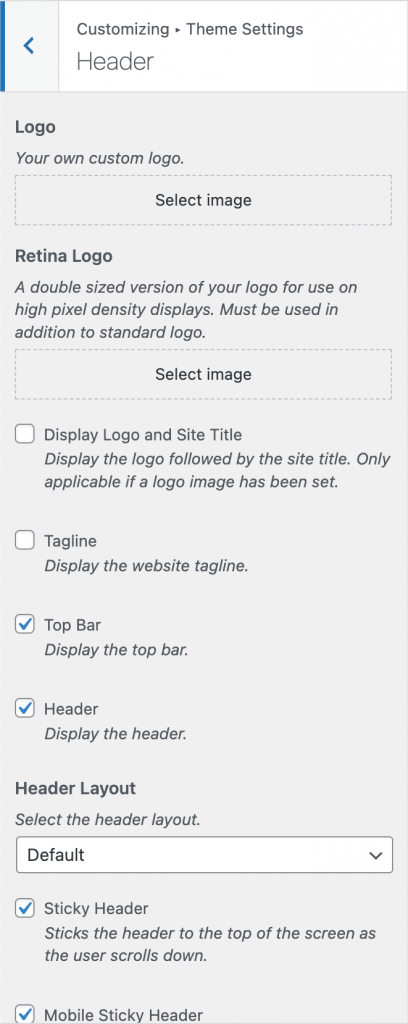
Header-related settings can be found at AppearanceCustomizeTheme SettingsHeader.
Adding a Logo
If no logo is added, your site title will be used. You can edit your site title from SettingsGeneralSite Title or AppearanceCustomizeSite IdentitySite Title. To add a logo click the Select File button below to the Logo heading.
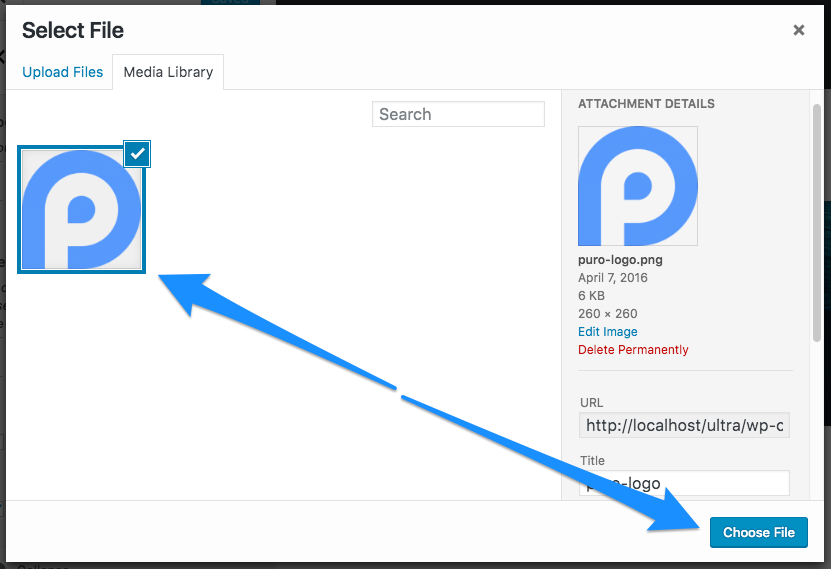
Next, select an image from your Media Library or click the Upload Files tab to upload a new logo. Once you’ve selected your logo image, click the Choose File button.
The logo image height will be automatically restricted to 92px.
Retina Logo
Below Logo Image, you’ll find the Retina Logo field. Use this field to upload a double-sized version of your logo, for use on high pixel density displays. If for example, your default logo is 92px x 92px, your Retina logo should then be 184px x 184px. This field must be used in conjunction with the default logo image.
When viewing your website on a high pixel density display, your regular logo will be replaced with your Retina logo. This ensures your logo remains crisp and prevents pixelating.
Display Logo and Site Title
Display the logo followed by the site title. Only applicable if a logo image has been set.
Tagline
Ultra doesn’t display the site tagline by default. Enable the tagline setting to show yours below the logo.
Top Bar
The top bar is visible above the header. Left to right it consists of:
- A phone number field.
- An email field.
- A social icons menu.
- A regular links menu.
All fields are optional.
To add a phone number and email address go to AppearanceCustomizeTheme SettingsSite Text and fill out the Phone Number and Email Address fields. The phone number will have a tel protocol link added so if possible, add your link in international dialing code format. Tel protocol links allow call ready devices like a smartphone, tablet or call enabled computer to initiate a call when the link is clicked. The email address field will automatically add a mailto link that opens the user’s default email client.
To read more about Ultra’s social icons menu and regular top bar menu, please see the menu documentation page.
To de-activate the top bar, disable the AppearanceCustomizeTheme SettingsHeaderTop Bar setting. The top bar will be removed.
Header
Display the header. Disable this option if you’d like to remove the header. This setting doesn’t impact the top bar.
Header Layout
Choose between the Default layout (logo on the left, menu on the right) or the Centered layout (logo above the menu, both centered).
Sticky Header
The sticky header sticks the header to the top of the screen once a user has scrolled past it. This includes the logo, main menu and search icon if that is active. It doesn’t include the top bar. Disable this setting to turn the sticky header off.
Mobile Sticky Header
Use the sticky header on mobile devices.
Sticky Header Opacity
Once the header becomes sticky, it’s possible to set opacity. 0.1 is 10%, and 1 is 100%; The default is 1.
Sticky Header Scaling
As the header becomes sticky, it also shrinks scales, the logo/site title is smaller, and there is a reduction in header height. Disable this setting to turn scaling off.