Polestar Premium adds useful features and email support to Polestar. To find out more and purchase Polestar Premium, please, view the theme page.
Polestar Premium is in the form a WordPress plugin. To install, follow the below steps:
- Polestar Premium plugin adds features to the Polestar theme. Go to AppearanceThemes to ensure you have the Polestar theme installed and activated. If not, go to AppearanceThemesAdd New and use the search bar top right to search for and install polestar.
- Using the link provided in your purchase email, download the Polestar Premium plugin ZIP file to your desktop. It must remain in ZIP format.
- Login to your WordPress installation and go to PluginsAdd NewUpload Plugin.
- Locate the ZIP file on your desktop, upload the plugin and click Activate.
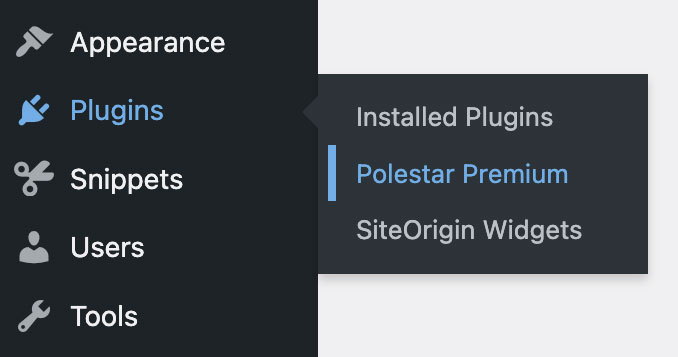
- Finally, go to PluginsPolestar Premium and insert your license key, click Save Changes and then Activate.
Safari Users
Please note that Safari unzips folders automatically. WordPress plugins must be installed in ZIP format. If the Polestar Premium folder is unzipped on your desktop after downloading, please, change Safari’s settings to not auto-unzip and then download the plugin again.
Activating Your Polestar Premium License
After installing Polestar Premium, you’ll need to activate your license to enable updates for the plugin. Your license key will be emailed to you after purchase. It’s also available on the order dashboard here on purothemes.com.
- Hover over the Plugins menu item and click on the Polestar Premium link.
- Insert your license key and click Save Changes.
- Finally, click the Activate License button to complete the process.
When updates are released, they’ll appear at DashboardUpdates just like a regular WordPress plugin update.
For help with any of the above, please contact [email protected].
Managing Your Activated Sites
To manage the sites on your license, follow these steps:
- Login to your user dashboard.
- Using the left navigation, navigate to Order History.
- Locate the order you’d like to edit and click the View Licenses link.
- Click the Manage Sites link.
- From this page you can now activate or deactivate sites on your license.
For help with any of the above, please contact [email protected].