Header settings control the logo, tagline, layout and sticky behavior. They are at AppearanceCustomizeTheme SettingsHeader.
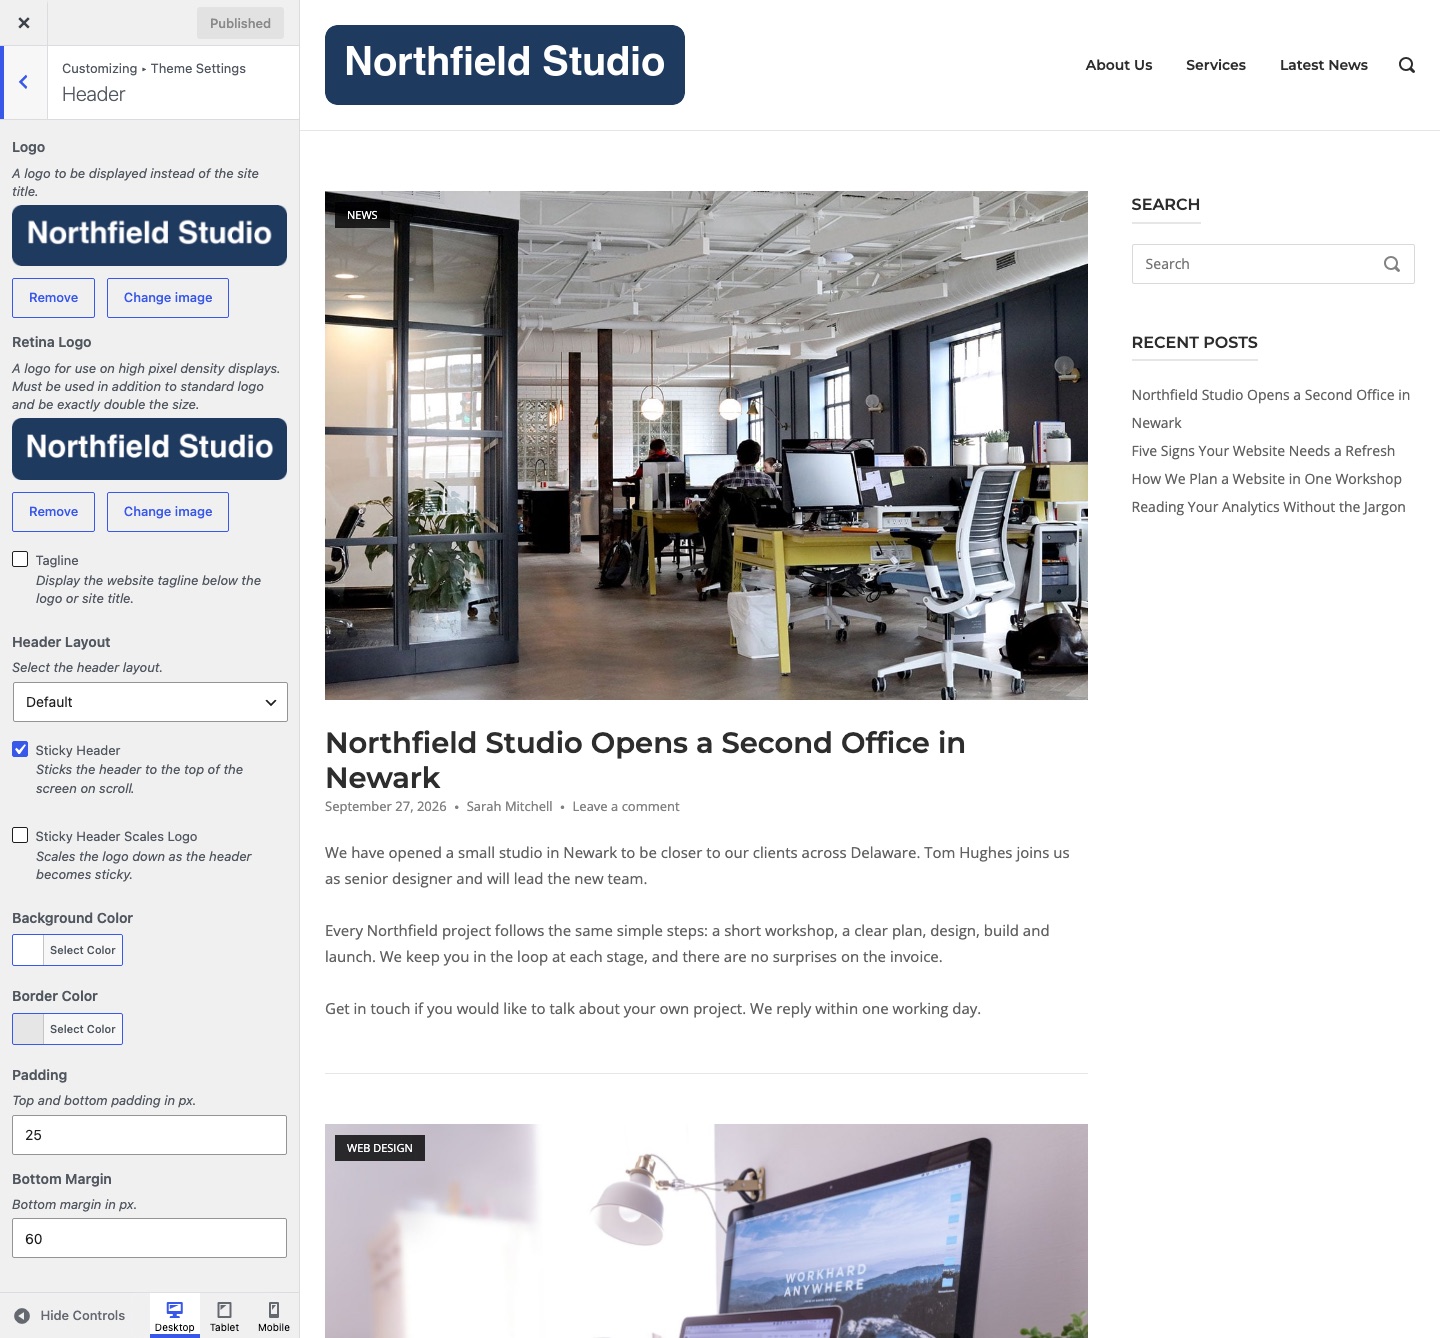
Logo
Uploads a logo to show instead of the site title. Click Select image, then choose a file from the Media Library or upload one. Without a logo, Polestar shows the site title.
If this field is empty, Polestar uses the logo from AppearanceCustomizeSite Identity. A logo set here takes priority. Change the site title at SettingsGeneral or in Site Identity.
Settings marked Premium need Polestar Premium.
Retina Logo
Uploads a logo for high pixel density screens. It must be exactly double the size of the standard logo. If the standard logo is 92 x 92 pixels, the Retina logo is 184 x 184 pixels. It works with the Logo above or the Site Identity logo.
Tagline
Displays the site tagline below the logo or site title. Off by default. Set the tagline at SettingsGeneral.
Header Layout
Choose Default for the logo on the left and the menu on the right. Choose Centered for the menu below a centered logo. The default is Default.
Sticky Header
Keeps the header at the top of the screen as visitors scroll. On by default.
Sticky Header Scales Logo
Makes the logo or site title smaller when the header sticks. Off by default. To change the scale, see Advanced Customizations.
Background Color
Sets the header background. It also colors the search bar and the mobile menu. The default is #ffffff.
Border Color
Sets the line below the header. The default is #e6e6e6.
Padding
Sets the space above and below the logo and menu, in pixels. The default is 25.
Bottom Margin
Sets the space between the header and the page content, in pixels. The default is 60. Turn the margin off for one page with the Header Bottom Margin page setting.
If the Sticky Header Does Not Stick
Check that Sticky Header is on, then clear your page cache. Polestar sticks the header with a script, so a script error on the page stops it. Turn off your other plugins one at a time to find the cause. See Resolving Plugin Conflicts. With WooCommerce, a store notice above the header scrolls with the page, and the header sticks once the notice is out of view.