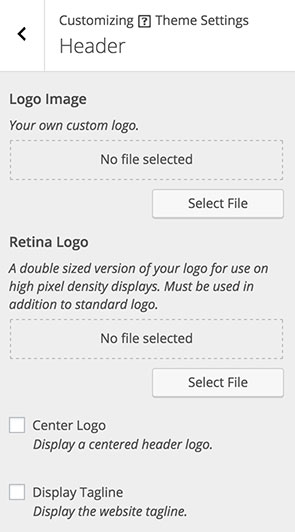
Header-related settings can be found at AppearanceCustomizeTheme SettingsHeader.
Adding a Logo
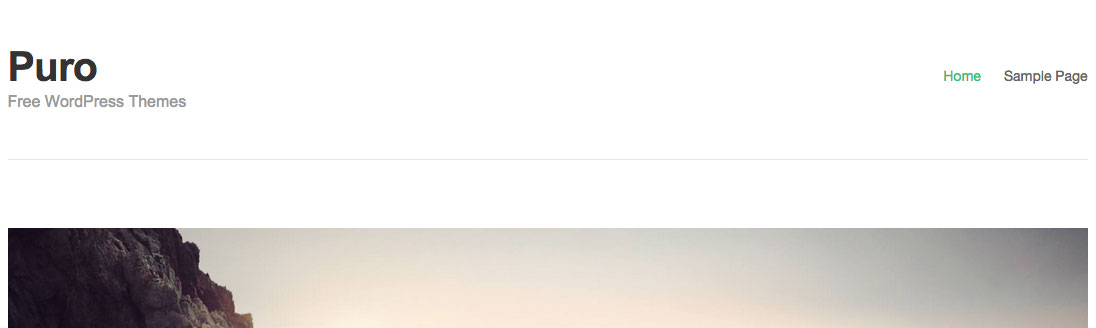
To add a logo click Select File to browse for and upload your logo image. There is no recommended size for your logo. Your logo image will be restricted to 30% of the header space available (297px). If no logo is added, your site title will be rendered. Your site title can be set under AppearanceCustomizeSite Identity or SettingsGeneral. To remove your logo, click the Remove File button.
Retina Logo
Below Logo Image, you’ll find the Retina Logo setting. Use this field to upload a double-sized version of your logo, for use on high pixel density displays. If for example, your default logo is 100px x 100px, your Retina logo should then be 200px x 200px. This field must be used in conjunction with the default logo image.
When viewing your website on high pixel density displays, your regular logo will be replaced with your Retina logo. This ensures your logo remains crisp and prevents pixelating.
Center Logo
Display a centered logo or site title. This will center the logo and place the menu under the logo, also in a centered position.
Display Tagline
Display the website tagline. Your site’s tagline can be managed from AppearanceCustomizeSite Identity or SettingsGeneral.